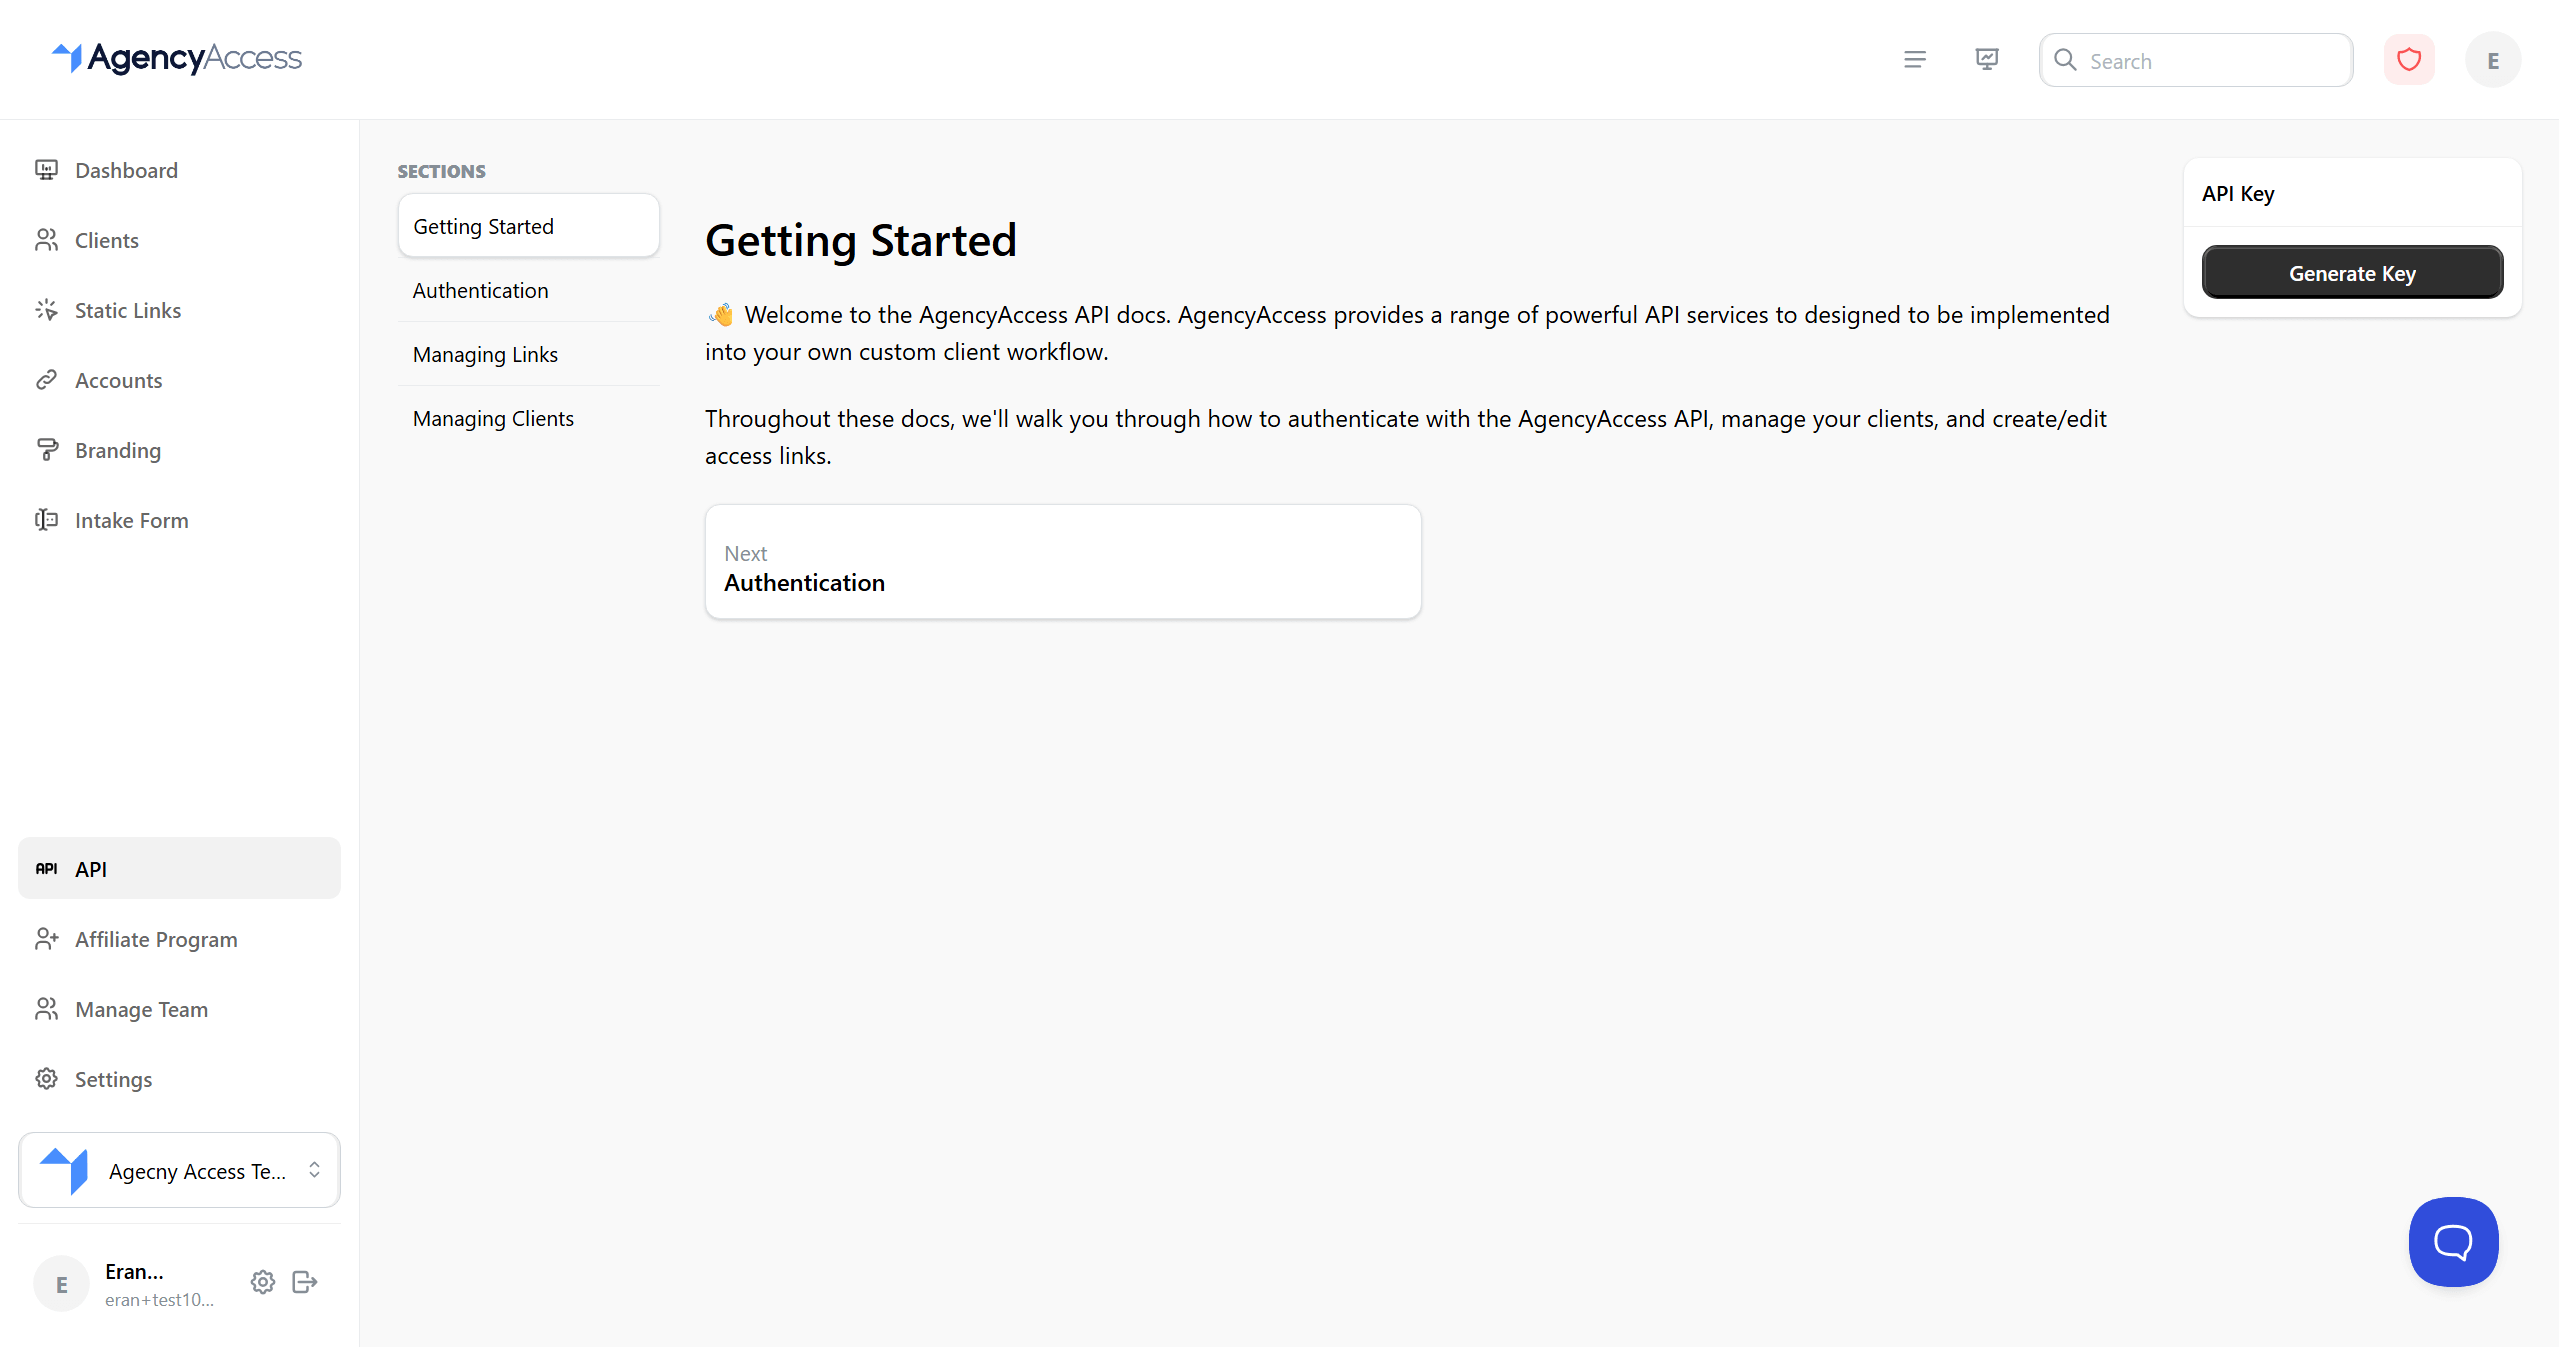
Back to Documentation

Utilizing the API

Integrate AgencyAccess with your systems using our REST API. Create clients, manage access links, and automate workflows programmatically.

This guide explains how to use the AgencyAccess API to programmatically manage clients, create access links, and automate your workflow.

Overview

The AgencyAccess API allows you to:

API documentation page overview
API documentation overview
  • Create and manage clients programmatically
  • Create, update, and retrieve access links
  • Automate link creation workflows
  • Integrate with your existing systems
  • Build custom applications

API Authentication

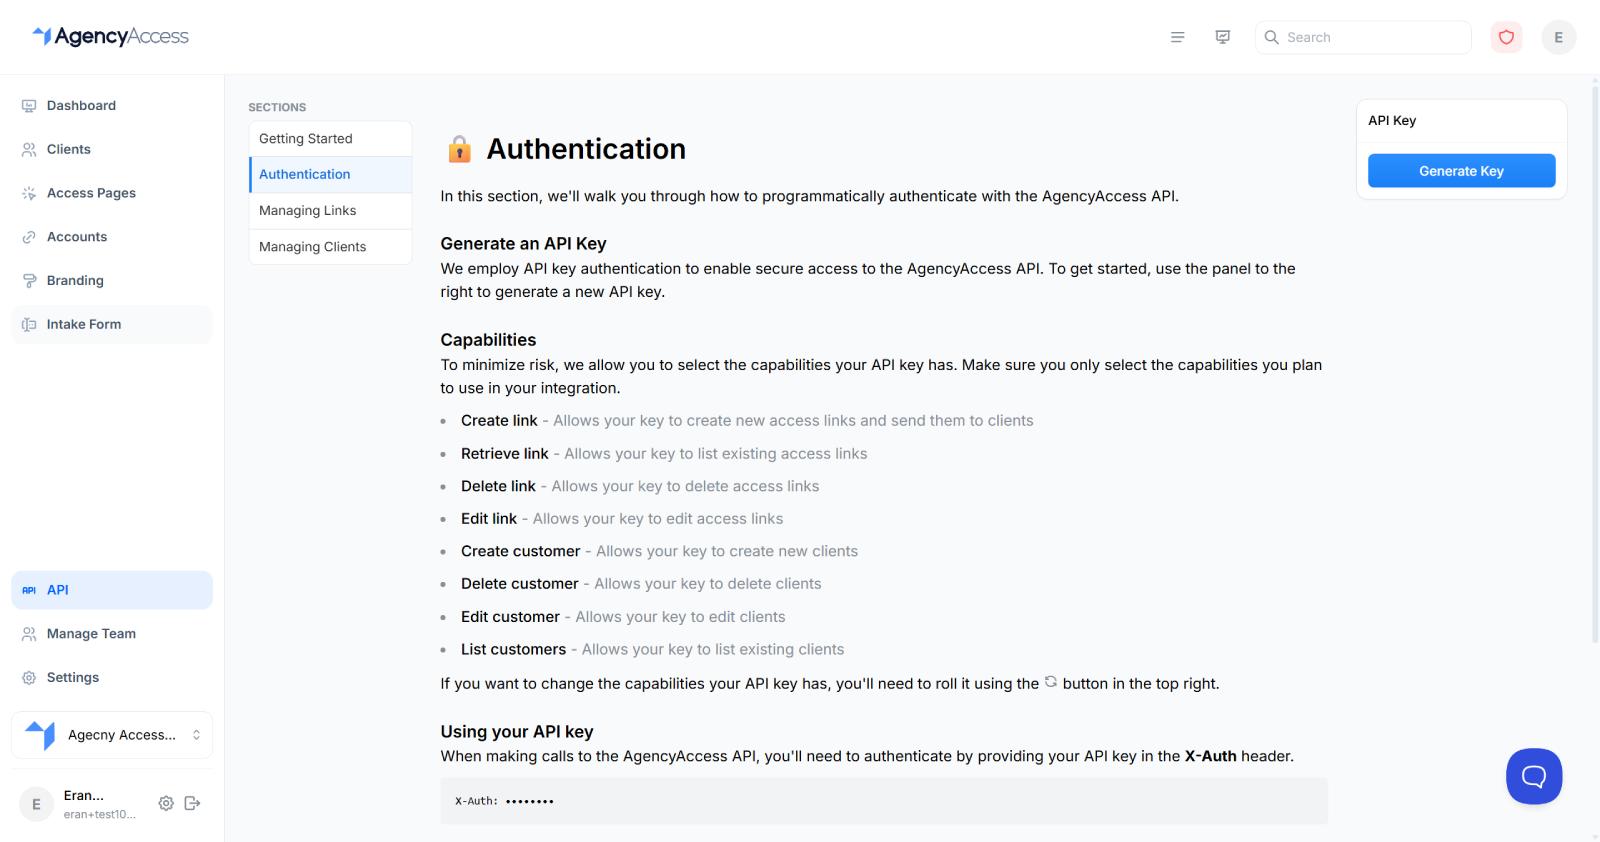
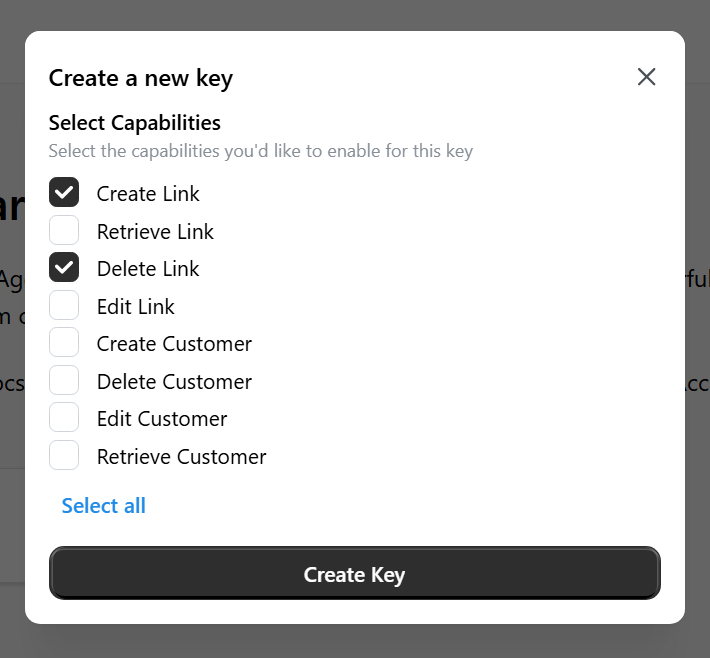
Generating an API Key

  1. Navigate to Dashboard → API → Authentication
  2. Review API capabilities (see Capabilities section below)
  3. Select the capabilities your API key should have
  4. Click "Generate API Key"
  5. Important: Copy and save your API key immediately - it won't be shown again
  6. Store the key securely
API key generation with capability selection
Generate a new API key

Using Your API Key

Include your API key in the X-Auth header of all API requests:

X-Auth: your-api-key-here

Example (using curl):

curl -X POST https://api.agencyaccess.co/api/links/create \
  -H "X-Auth: your-api-key-here" \
  -H "Content-Type: application/json" \
  -d '{"clientID": "xxx", ...}'

API Key Security

  • Never share your API key: Treat it like a password
  • Store securely: Use environment variables or secure storage
  • Rotate regularly: Regenerate keys if compromised
  • Use minimal capabilities: Only grant capabilities you actually need

Rolling Your API Key

If your key is compromised or you need to rotate it:

  1. Go to Dashboard → API → Authentication
  2. Click the refresh/regenerate icon
  3. Confirm regeneration
  4. Important: Update all systems using the old key
  5. Old key is immediately invalidated

API Capabilities

When generating an API key, you can select specific capabilities to limit what the key can do:

Available Capabilities

  • Create Link: Create new access links
  • Retrieve Link: Get information about existing links
  • Edit Link: Update existing links
  • Create Customer: Create new clients
  • Retrieve Customer: Get information about a specific client
  • Edit Customer: Update client information

Best Practice: Only select capabilities you actually need to minimize risk.

API Base URL

All API requests should be made to:

https://api.agencyaccess.co

API Endpoints

Create a new access link for a client.

Endpoint: POST /api/links/create

Request Body:

{
  "clientID": "string (required)",
  "requestedAccounts": {
    "Google": {
      "Google Ads": {
        "accessLevel": "ADMIN",
        "requested": true,
        "requestedAccountLinks": [
          {
            "internalAccountID": "your-linked-account-id"
          }
        ]
      }
    }
  },
  "intakeForm": true,
  "sendEmail": false,
  "thankYouMessage": "Thank you for granting access",
  "redirect": "yourwebsite.com"
}

Response:

{
  "error": false,
  "data": "link-id-here"
}

Field Reference:

  • clientID (string, required): The ID of the client to send the link to
  • requestedAccounts (object, required): Object mapping platforms to services configuration

- Platform (e.g., "Google", "Meta"): Object containing services for that platform

- Service (e.g., "Google Ads", "Meta Ads"): Service configuration object

- accessLevel (string): Required access level (e.g., "ADMIN", "READ_ONLY")

- requested (boolean): Whether to request this service

- requestedAccountLinks (array): Array of account links to use

- internalAccountID (string): Your linked account's internal ID

- googleAdsMCCAccountID (string, optional): For Google Ads MCC, the MCC account ID

  • intakeForm (boolean, optional): Include intake form in the link
  • sendEmail (boolean, optional): Automatically send invitation email
  • thankYouMessage (string, optional): Message shown after client completes
  • redirect (string, optional): URL to redirect client after completion (without https:// prefix)
  • retainTokens (boolean, optional): Retain access tokens for 30 days (default: false). Tokens will be sent to your Zapier integration and viewable on the dashboard.

Note: Use the Requested Services Builder in the API documentation to help construct the requestedAccounts object.

Update an existing access link's requested accounts.

Endpoint: POST /api/links/update

Request Body:

{
  "id": "link-id-here",
  "requestedAccounts": {
    "Google": {
      "Google Ads": {
        "accessLevel": "ADMIN",
        "requested": true,
        "requestedAccountLinks": [
          {
            "internalAccountID": "your-linked-account-id"
          }
        ]
      }
    }
  }
}

Response:

{
  "error": false,
  "data": "link-id-here"
}

Field Reference:

  • id (string, required): The ID of the link to update
  • requestedAccounts (object, required): Updated requested accounts (same format as create)

Important Notes:

  • You can only update requestedAccounts - thank you message and redirect URL cannot be changed after link creation
  • If you specify services that were already granted, the client will be asked to grant access again
  • If you change access levels or account links for already-granted services, the client will need to grant access again
  • The API endpoint does not support sendUpdateEmail parameter (this is only available in the UI)

Get information about an existing access link.

Endpoint: GET /api/links/retrieve

Query Parameters:

  • id (string, required): The ID of the link to retrieve

Response:

{
  "error": false,
  "data": {
    "id": "link-id",
    "cc": [
      {
        "name": "John Doe",
        "email": "john@example.com"
      }
    ],
    "clientID": "client-id",
    "created": 1741951170010,
    "lastReminderTimestamp": 1741951170010,
    "requestedAccounts": {
      "Google": {
        "Google Ads": {
          "accessLevel": "Admin",
          "requested": true,
          "granted": true,
          "skipped": false,
          "requestedAccountLinks": [
            {
              "internalAccountID": "account-id",
              "googleAdsMCCAccountID": "mcc-id"
            }
          ]
        }
      }
    },
    "intakeForm": {
      "requested": true,
      "complete": true
    },
    "redirect": "yourwebsite.com",
    "staticLinkRef": "static-link-id",
    "thankYouMessage": "Thank you for granting access!",
    "retainTokens": false
  }
}

Field Reference:

  • id: Link identifier
  • cc: Array of CC recipients (name and email)
  • clientID: Associated client ID
  • created: Unix timestamp (milliseconds) of creation
  • lastReminderTimestamp: Unix timestamp of last reminder sent
  • requestedAccounts: Object of platforms containing services with grant status

- granted (boolean): Whether access has been granted

- skipped (boolean): Whether the client skipped this service

  • intakeForm: Intake form status object

- requested (boolean): Whether intake form was requested

- complete (boolean): Whether intake form has been completed

  • redirect: Redirect URL (without https:// prefix)
  • staticLinkRef: Reference to static link if created from one
  • thankYouMessage: Thank you message shown after completion
  • retainTokens: Whether tokens are retained for 30 days

Creating a Client

Create a new client.

Endpoint: POST /api/clients/create

Request Body:

{
  "name": "John Doe",
  "email": "john@example.com",
  "company": "Example Corp",
  "website": "https://example.com",
  "language": "English",
  "metadata": {
    "customField1": "value1",
    "customField2": "value2"
  }
}

Response:

{
  "error": false,
  "data": "client-id-here"
}

Field Reference:

  • name (string, required): Client's full name
  • email (string, required): Client's email address
  • company (string, optional): Company name
  • website (string, optional): Client's website URL
  • language (string, required): Preferred language ("English", "Spanish", or "Dutch")
  • metadata (object, optional): Custom key-value pairs (values must be strings)

Retrieving a Client

Get information about a specific client.

Endpoint: GET /api/clients/retrieve

Query Parameters:

  • id (string, required): The ID of the client to retrieve

Response:

{
  "error": false,
  "data": {
    "id": "client-id",
    "name": "John Doe",
    "email": "john@example.com",
    "company": "Example Corp",
    "website": "https://example.com",
    "language": "English",
    "type": "Client",
    "created": 1741951170010,
    "metadata": {}
  }
}

Updating a Client

Update client information.

Endpoint: POST /api/clients/update

Request Body:

{
  "id": "client-id",
  "name": "John Doe Updated",
  "email": "john.new@example.com",
  "company": "New Company Name",
  "website": "https://newwebsite.com",
  "language": "Spanish",
  "metadata": {
    "updatedField": "newValue"
  }
}

Response:

{
  "error": false,
  "data": "client-id"
}

Building Requested Accounts

The requestedAccounts object can be complex. Use the Requested Accounts Builder in the API documentation:

  1. Go to Dashboard → API → Managing Links
  2. Use the interactive builder to select platforms and services
  3. Configure access levels and account links
  4. Copy the generated JSON
  5. Use it in your API requests

Error Handling

All API endpoints return a consistent error format:

{
  "error": true,
  "msg": "Error message describing what went wrong"
}

Common HTTP Status Codes:

  • 200: Success
  • 400: Bad Request (invalid parameters)
  • 401: Unauthorized (invalid or missing API key)
  • 403: Forbidden (API key lacks required capability)
  • 404: Not Found (resource doesn't exist)
  • 409: Conflict (e.g., intake form disabled)
  • 500: Server Error

Error Response Example:

{
  "error": true,
  "msg": "Please provide a valid clientID"
}

Rate Limits

API requests are subject to rate limiting:

  • Check response headers for rate limit information
  • Implement exponential backoff for retries
  • Contact support if you need higher limits

Best Practices

  1. Secure Your Key: Never commit API keys to version control
  2. Use Environment Variables: Store keys in environment variables
  3. Handle Errors: Always check the error field in responses
  4. Validate Input: Validate data before sending API requests
  5. Test First: Test with a single request before automating
  6. Monitor Usage: Track your API usage and limits
  7. Use Webhooks: Consider webhooks for real-time updates (if available)

Example Integrations

Zapier Integration

Use AgencyAccess with Zapier:

  1. Set up Zapier integration in your dashboard
  2. Use Zapier triggers and actions
  3. Access intake form data via client.intakeForm.{question_key}

Custom Application

Example Python script to create a link:

import requests

API_KEY = "your-api-key"
API_BASE = "https://api.agencyaccess.co"

headers = {
    "X-Auth": API_KEY,
    "Content-Type": "application/json"
}

data = {
    "clientID": "client-id-here",
    "requestedAccounts": {
        "Google": {
            "Google Ads": {
                "accessLevel": "ADMIN",
                "requested": True,
                "requestedAccountLinks": [
                    {"internalAccountID": "account-id"}
                ]
            }
        }
    },
    "sendEmail": True
}

response = requests.post(
    f"{API_BASE}/api/links/create",
    headers=headers,
    json=data
)

result = response.json()
if not result.get("error"):
    print(f"Link created: {result['data']}")
else:
    print(f"Error: {result['msg']}")

Troubleshooting

Authentication Errors

Issue: 401 Unauthorized

Solutions:

  • Verify API key is correct
  • Check X-Auth header is included
  • Ensure key hasn't been regenerated
  • Verify key has required capabilities

Invalid Request Errors

Issue: 400 Bad Request

Solutions:

  • Validate all required fields are present
  • Check data types match expected formats
  • Verify client IDs and account IDs exist
  • Review error message for specific issues

Capability Errors

Issue: 403 Forbidden

Solutions:

  • Check API key has required capability
  • Regenerate key with correct capabilities
  • Verify you're using the right endpoint

Issue: Cannot create link

Solutions:

  • Verify client exists and belongs to your agency
  • Check requested services are valid
  • Ensure linked accounts are still active
  • Verify you haven't reached link limits
  • Check intake form is enabled if including it

Next Steps

After setting up API access:

  • Test with a simple request
  • Build your integration
  • Set up error handling
  • Monitor API usage
  • Explore webhooks (if available)

For more information, see: